The calendars are universal, so everybody in your shop who uses Clients & Profits
                                    can share them.
                                    
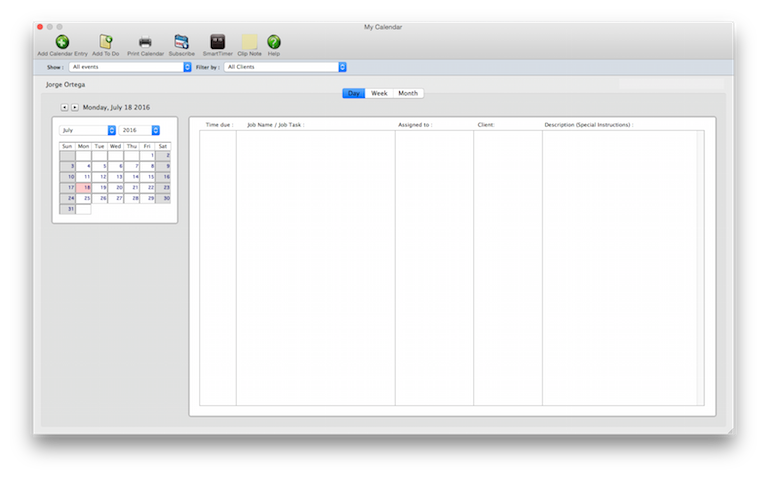
                                    When the calendar window opens, it displays each day's entries. Clicking on a day
                                    opens the Day-at-a-Glance window, which shows the day's entries in more detail.
                                    
                                    To choose a calendar
                                    
                                    1 Choose My > My Calendar to open the My Calendar
                                    window.
                                    
                                    The My Calendar window opens.
                                    
                                    2 Choose a calendar from the Show pop-up menu.
                                    
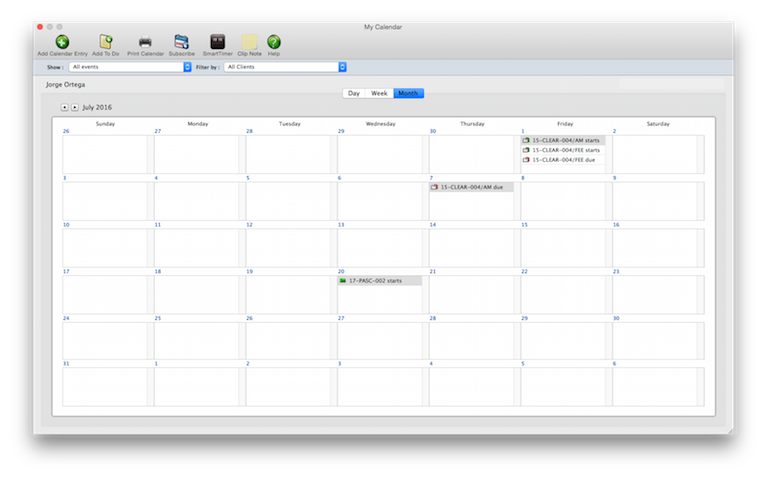
                                    The Calendar window will display the month's entries for each day of the month.
                                    Since the space available for each day of the month is limited, you'll see an
                                    abbreviated version of each calendar entry.
                                    
                                    When the Company Calendar is chosen from the Show pop-up menu, the calendar will
                                    include days that staff members have scheduled time-off.
                                    
                                    Click the previous month and next month buttons to see different
                                    months.
                                    
                                    To jump to a specific day, enter the date in the Find Date field then click the Find
                                    button. The calendar will display the selected month's entries.


                                    Clicking on any day in the Calendar window opens the Day-at-a-Glance window, which
                                    shows the day's entries in more detail. You can also add new entries from this
                                    window.
                                    
                                    With color-coded priorities, time, location, client, and status information, you
                                    will be able to easily see where you need to be, what you need to do, and where you
                                    can squeeze more into your day.
                                    
                                    Using the tool bar buttons, to-do entries can be added with just a few mouse-clicks.
                                    
                                    The media department can use this window which lists due dates and times for
                                    materials and space closings, along with any meetings, events, etc. scheduled that
                                    day for Media Department personnel during the chosen month. Space closing deadlines
                                    from media plans and estimates, and materials due dates from insertion orders and
                                    broadcast orders automatically appear on the Day-at-a-Glance Calendar. Media staff
                                    are also able to record and manage all upcoming meetings, events, and other media
                                    related work for any day during any given month. It keeps everyone in your media
                                    department informed about what’s happening, when it’s due, and more.


                                    1 Choose the calendar you wish to use using the
                                    calendar pop-up menu.
                                    
                                    2 Click the add button.
                                    
                                    3 Enter the date and time of the new event.
                                    
                                    While Clients & Profits will automatically fill in the current date and time, you
                                    can change it to any future date and any time. Time is entered using a 24-hour clock
                                    (i.e., military time), but will appear as AM or PM on a 12-hour clock.
                                    
                                    4 Enter the event’s location.
                                    
                                    5 Enter a descriptive name on the Action/Event
                                    field.
                                    
                                    The event name appears on the calendar as well as in the Day-at-a-Glance window, so
                                    make sure it is meaningful.
                                    
                                    6 Enter a description for the event.
                                    
                                    The description field is free-form and can hold an unlimited number of characters.
                                    Remember that the description appears on the printed Day-at-a-Glance calendar, so
                                    brevity is good.
                                    
                                    7 Assign a priority for the entry.
                                    
                                    Daily events can be prioritized as high, normal, or low, and appear as color-coded
                                    dots in the Day-at-a-Glance window. Priorities, as well as any other information,
                                    can be edited at any time.
                                    
                                    8 Enter the days in advance you would like to
                                    receive an e-mail reminder about the upcoming event.
                                    
                                    Clients & Profits will automatically send you an e-mail message on the morning
                                    you’ve requested a notification.
                                    
                                    9 Enter the client code if the meeting is in
                                    regard to a particular client.
                                    
                                    10 Enter the event status, such as “tentative” or
                                    “confirmed.”
                                    
                                    11 Click Save.


                                    1 Click the edit button.
                                    
                                    2 Make your changes.
                                    
                                    3 Click Save.


                                    1 From the Day-at-a-Glance window, click the
                                    action or event to select it.
                                    
                                    2 Click the delete button.


                                    Clicking the Print Calendar button prints a hard-copy of the calendar that's
                                    currently being displayed.
                                    
                                    There are seven different calendars to choose
                                            from:
                                    
                                    Personal
                                    
Shows only the calendar entries you added personally. You can only see your own
                                    personal calendar's entries. Also, you can't add personal entries for other staff
                                    members. (Remember, there should be no expectation of privacy on your personal
                                    calendar since it is stored on company property.)
                                    
                                    Company
                                    
Shows calendar entries that affect the entire company, such as holidays, events,
                                    or announcements. Entries added to the company calendar are public, so everyone will
                                    see them.
                                    
                                    Client
                                    
Shows appointments, dates, and other calendar entries for one selected client.
                                    Client calendar entries can be added by anyone in the company.
                                    
                                    Traffic
                                    
Shows calendar entries that involve production that are added by the traffic
                                    department.
                                    
                                    Media
                                    
Shows space closing and material due dates from insertion and broadcast orders,
                                    as well as entries added by members of the media department.
                                    
                                    Accounting
                                    
                                    Shows important dates (e.g., tax payments, rent due, etc.) added by members of the
                                    accounting department.
                                    
                                    Cash
                                    
Shows expected client payments (using the A/R invoice's pay date) and planned
                                    cash disbursements (using the A/P invoice's pay date) as well as manually added
                                    entries added by the accounting department to manage cash.
                                    
                                    Depending on your access privileges, you can see and add entries to one or more of
                                    the calendars. Calendar entries can only be added once a type of calendar (i.e.,
                                    personal, media, etc.) is chosen and displayed.